
Overview
The character has been modeled.
They have a skeleton, controllers, textures, hair made of a few hundred thousand curves, and a cape that will need to understand the laws of physics before Friday.
Now they must be animated, their deformations preserved, shots managed, cloth simulated, versions organized, the scene passed to lighting, and a file produced that the next department can open without discovering thirty-seven missing textures.
At this stage, the question is no longer simply: how do you create a 3D object?
It becomes: how do you make an entire production hold together around it?
That is where Maya reveals its true nature.
Autodesk Maya is less an isolated toolbox than a production workshop designed to connect modeling, rigging, animation, effects, rendering, and pipeline work.
Developed by Autodesk, the software has long occupied a central place in animation, film, visual effects, and video game studios.
It can create characters, creatures, props, and environments, but its reputation rests above all on the depth of its animation, rigging, and customization tools.
Maya does not try to be immediately friendly.
It tries to remain usable when the scene contains several characters, hundreds of controllers, external references, simulation caches, shared shots, and an entire team hoping not to redo the work of the person next to them.
Maya does not become powerful when you create a cube. It becomes powerful when that cube has to travel through a production.
Software built around movement
Many 3D suites can model a character.
Maya particularly distinguishes itself when that character needs to move.
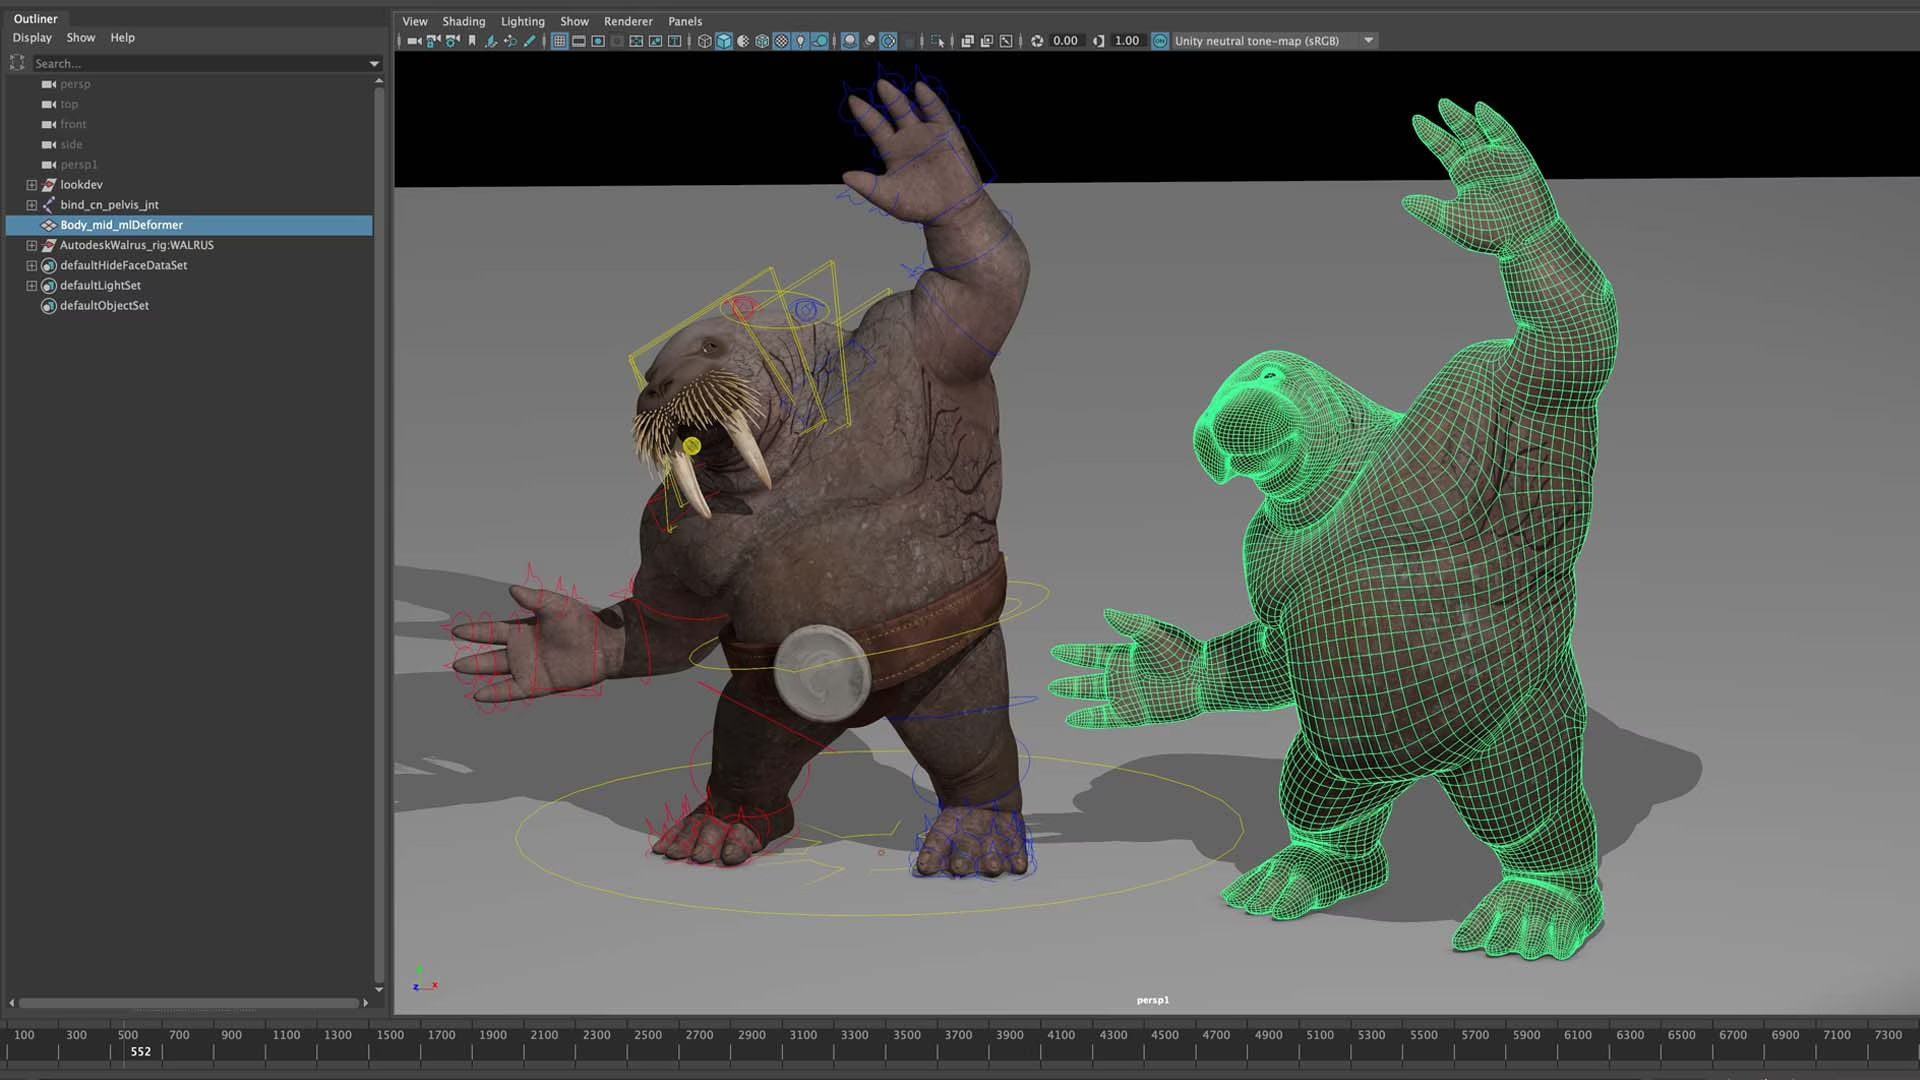
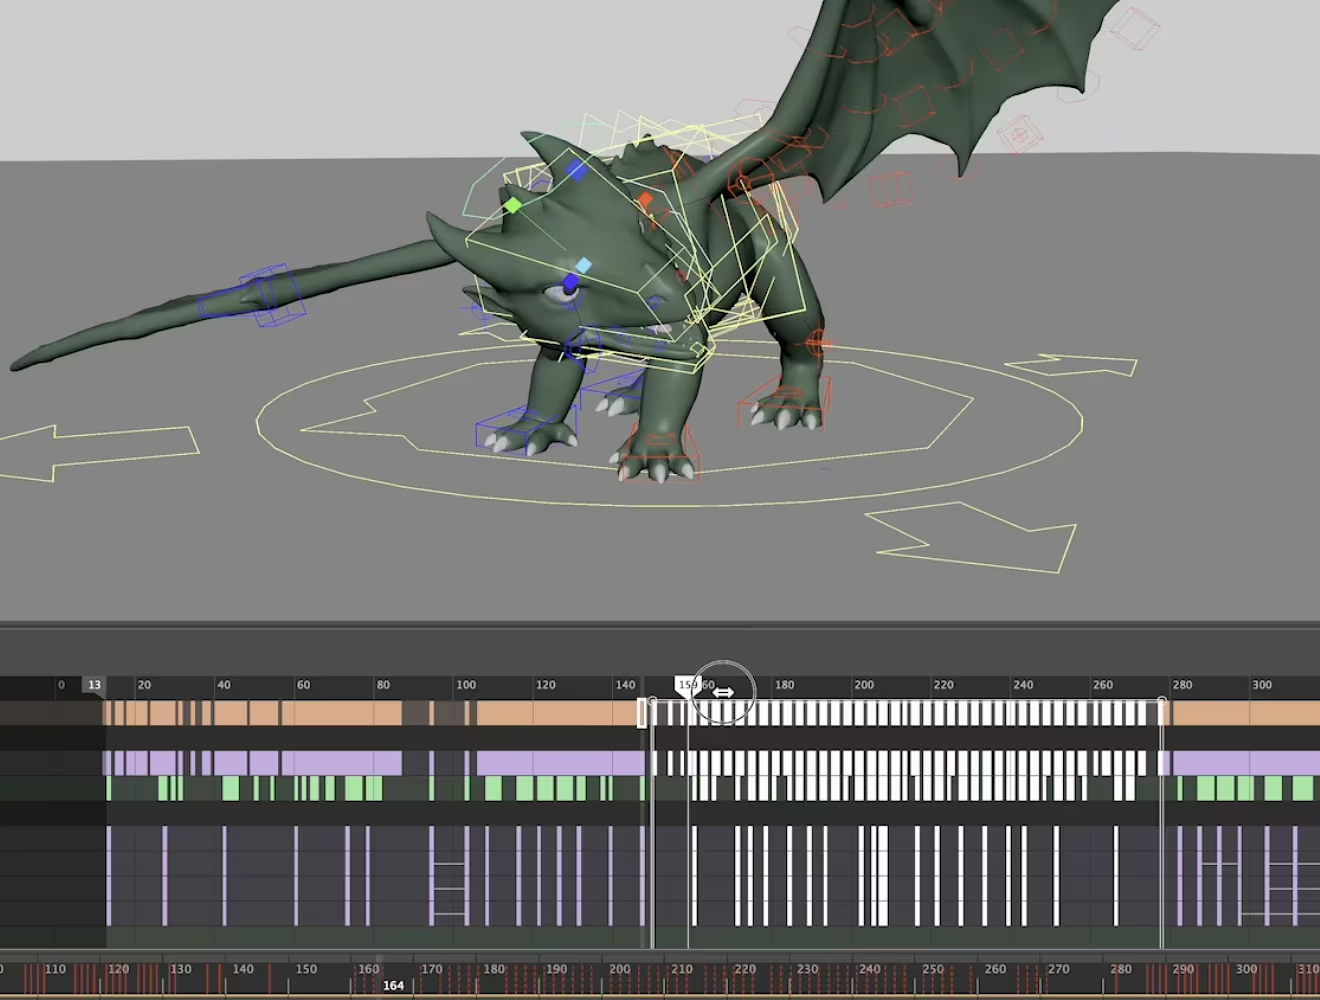
The software provides tools for building a skeleton, defining controllers, assigning mesh influences, correcting deformations, organizing poses, editing animation curves, and assembling several sequences.
This specialization is not limited to humans.
A rig can animate a creature, vehicle, machine, plant, or any object whose different parts need to maintain a controllable relationship.
In Maya, a door does not simply rotate.
It can depend on a controller, trigger a piston, affect a cable, drive a light, and preserve that logic across several shots.
The scene becomes a system.
A long history and a dense interface
Maya has the depth of software that has crossed several generations of production.
Its interface brings together menus, editors, panels, shortcuts, and concepts developed over many years. Some parts are modern. Others appear to have preserved a small administrative office somewhere inside the year 2004.
That density can be discouraging.
It also means the software contains solutions for very specific situations: editing a curve, isolating an influence, referencing an asset, correcting a constraint, publishing a cache, or automating a repetitive task.
Maya rarely rewards completely improvised exploration.
It rewards method.
Understanding transformations, history, nodes, references, namespaces, and dependencies gradually makes it possible to see something other than a crowded interface.
You begin to see the architecture hidden behind the scene.
Maya 2027: evolving the pipeline without overturning it
The current generation continues this logic of continuity.
Maya 2027 notably improves layered skinning, OpenUSD workflows, material development in LookdevX, shot editing, Bifrost procedural tools, and MotionMaker-assisted animation.
The 2027.1 update adds further fixes and improvements without turning the software into an entirely different product.
That is often how Maya evolves.
A new version does not brutally replace the profession.
It tries to add tools without breaking the thousands of scripts, plugins, rigs, and pipelines built around previous releases.
The result may appear less spectacular than an application reinvented every six months.
In production, not redesigning the plumbing while the entire building is using it can sometimes be a fairly remarkable feature.
Features
Modeling characters, objects, and environments
Maya provides polygonal and NURBS modeling tools for building characters, props, vehicles, and sets.
Common operations notably make it possible to:
- create and modify primitives;
- extrude faces and edges;
- insert loops;
- merge or separate elements;
- work with symmetry;
- soften or harden normals;
- perform Boolean operations;
- rebuild topology;
- unwrap and edit UVs;
- prepare several levels of detail.
The Modeling Toolkit brings many of these operations together in a more direct workspace.
Quad Draw becomes particularly useful for rebuilding clean topology over a high-definition sculpt or scanned geometry.
Maya 2027 also adds Smart Bevel, designed to produce cleaner bevels on complex forms.
These tools make it possible to complete an entire model.
They do not make Maya the absolute best choice for every type of modeling.
ZBrush remains more natural for organic sculpting. Blender may feel more fluid for a generalist working alone. 3ds Max retains its established workflows in certain areas of architecture and environment modeling.
Maya becomes especially relevant when the geometry must then be rigged, animated, and integrated into a production chain.
Building a rig that remains controllable
Rigging means creating the invisible architecture that will allow the model to be animated.
Maya provides the necessary building blocks:
- joints and skeleton chains;
- forward and inverse kinematics;
- constraints;
- custom controllers;
- transformation groups;
- deformers;
- blend shapes;
- muscle systems;
- skinning tools;
- HumanIK;
- node networks and attribute connections.
A simple rig may allow an arm to bend.
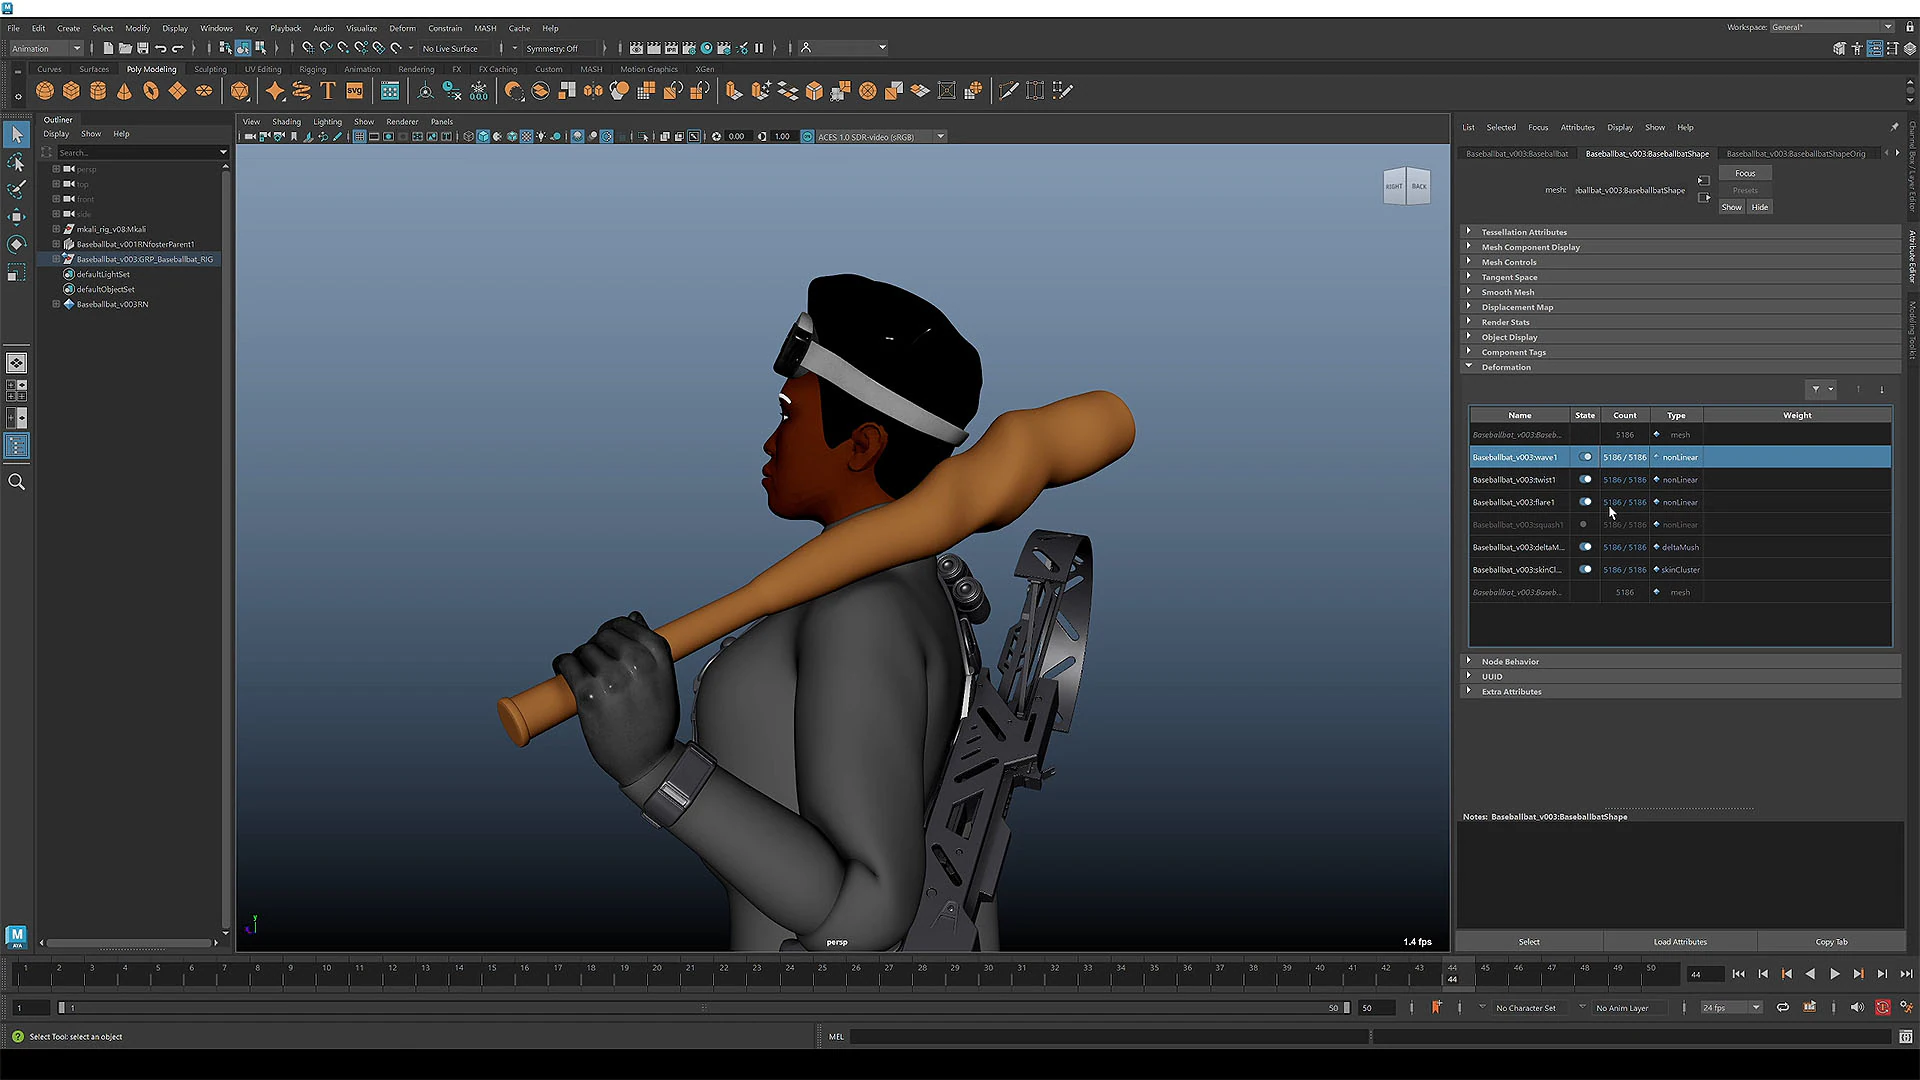
An advanced rig must also manage twisting, compression, muscle volume, proportion changes, contacts, and the corrections required when several movements combine.
This is where Maya retains considerable depth.
The system is not limited to automatically applying a skeleton. It makes it possible to build logic adapted to the character and the animators’ needs.
A good rig must remain powerful without becoming unreadable.
It should provide enough controls to perform a scene, but not so many that every finger becomes the control panel of a nuclear power station.
Painting influences and correcting deformations
Once the skeleton has been created, the mesh needs to understand which bones control each of its regions.
Skinning assigns those influences.
Maya makes it possible to paint weights, transfer influences, lock certain areas, smooth transitions, and correct problematic deformations.
Maya 2027 more directly integrates a layered skinning workflow inspired by ngSkinTools.
Influences can be organized into layers, masked, blended, and corrected without immediately overwriting previous work.
This logic makes the process less destructive.
A shoulder can receive a main layer, a specific correction, and a local mask without forcing the artist to repaint the entire region every time a clavicle decides to explore a new anatomical direction.
Animating with keys and curves
Keyframe animation remains central to Maya.
The animator defines poses at specific moments, then the software interpolates the movement between them. The real work then consists of controlling rhythm, acceleration, stops, and trajectories.
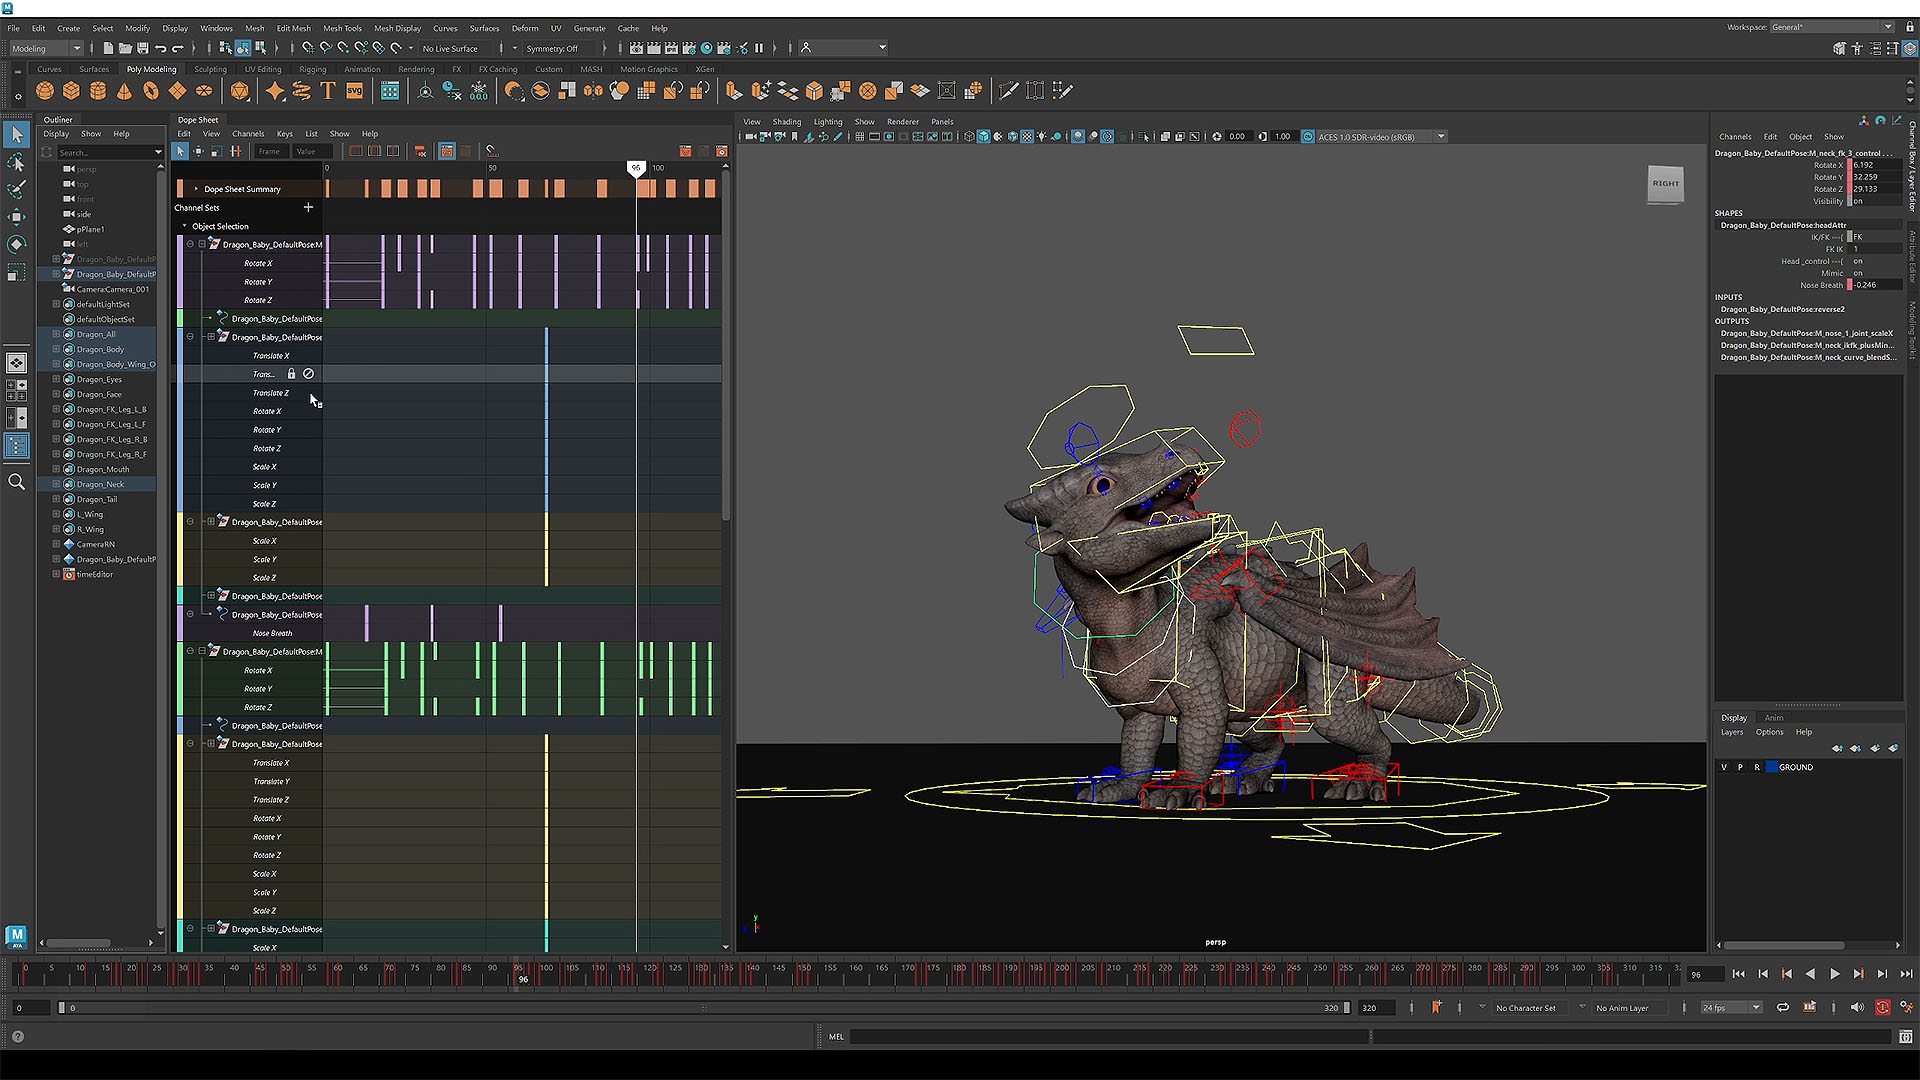
The Graph Editor displays the curves describing these changes.
It makes it possible to:
- move and adjust keys;
- modify tangents;
- smooth or break a transition;
- delay part of the body;
- create overshoot;
- correct vibration;
- retime an action;
- precisely control the speed of a movement.
Convincing animation does not depend only on poses.
It depends on the way the character leaves one pose to reach the next.
The Graph Editor is where that distance stops being simple interpolation and becomes a choice.
Organizing clips, shots, and versions
The Time Editor organizes animation as clips.
Movements can be assembled, blended, shortened, accelerated, or reused. This approach suits nonlinear animation, motion capture, and sequences built from several sources.
The Sequencer organizes shots, cameras, and the overall edit of a sequence.
Maya 2027 improves its interface, grouping tools, and playblast outputs.
| Tool | Main purpose |
|---|---|
| Timeline | Navigate through time and place the first keys |
| Graph Editor | Refine curves and movement |
| Dope Sheet | Reorganize the timing of keys |
| Time Editor | Assemble and blend animation clips |
| Sequencer | Organize shots, cameras, and the sequence |
| Playblast | Quickly produce a working preview |
These editors may seem redundant at first.
They simply do not look at animation at the same scale.
The Timeline observes time.
The Graph Editor observes movement.
The Sequencer observes the story divided into shots.
Generating a movement base with MotionMaker
MotionMaker uses artificial intelligence tools to generate an initial animation from a few keys or a trajectory.
The current version supports human, canine, and equine characters.
The animator can define a direction, path, and certain important points, then allow the system to produce a motion proposal.
The result can then be adjusted using Maya’s traditional tools.
This feature becomes useful for:
- quickly preparing blocking;
- making a character walk or run along a path;
- exploring several rhythms;
- animating a background character;
- building an initial intention before manual work.
MotionMaker is not a “finish the animation” button.
It produces starting material.
A correct trajectory guarantees neither weight, intention, nor personality. Two characters can follow exactly the same path without telling the same story.
AI helps avoid certain blank pages.
It does not replace the eye that decides how a body hesitates, accelerates, stumbles, or tries to hide that it has just seen something behind it.
Approximating complex deformations with ML Deformer
The Machine Learning Deformer learns to reproduce complex deformations from examples.
A character can receive detailed corrections from a muscle simulation or heavier rig. The system then trains a faster approximation that can be used interactively.
This method can accelerate:
- work on complex characters;
- blocking;
- crowds;
- previews;
- certain real-time productions.
The model does not magically create correct anatomy.
It learns to reproduce the examples it is given.
A poor base, insufficient poses, or inconsistent corrections do not improve simply because an algorithm memorized them with great seriousness.
Creating procedural effects and systems with Bifrost
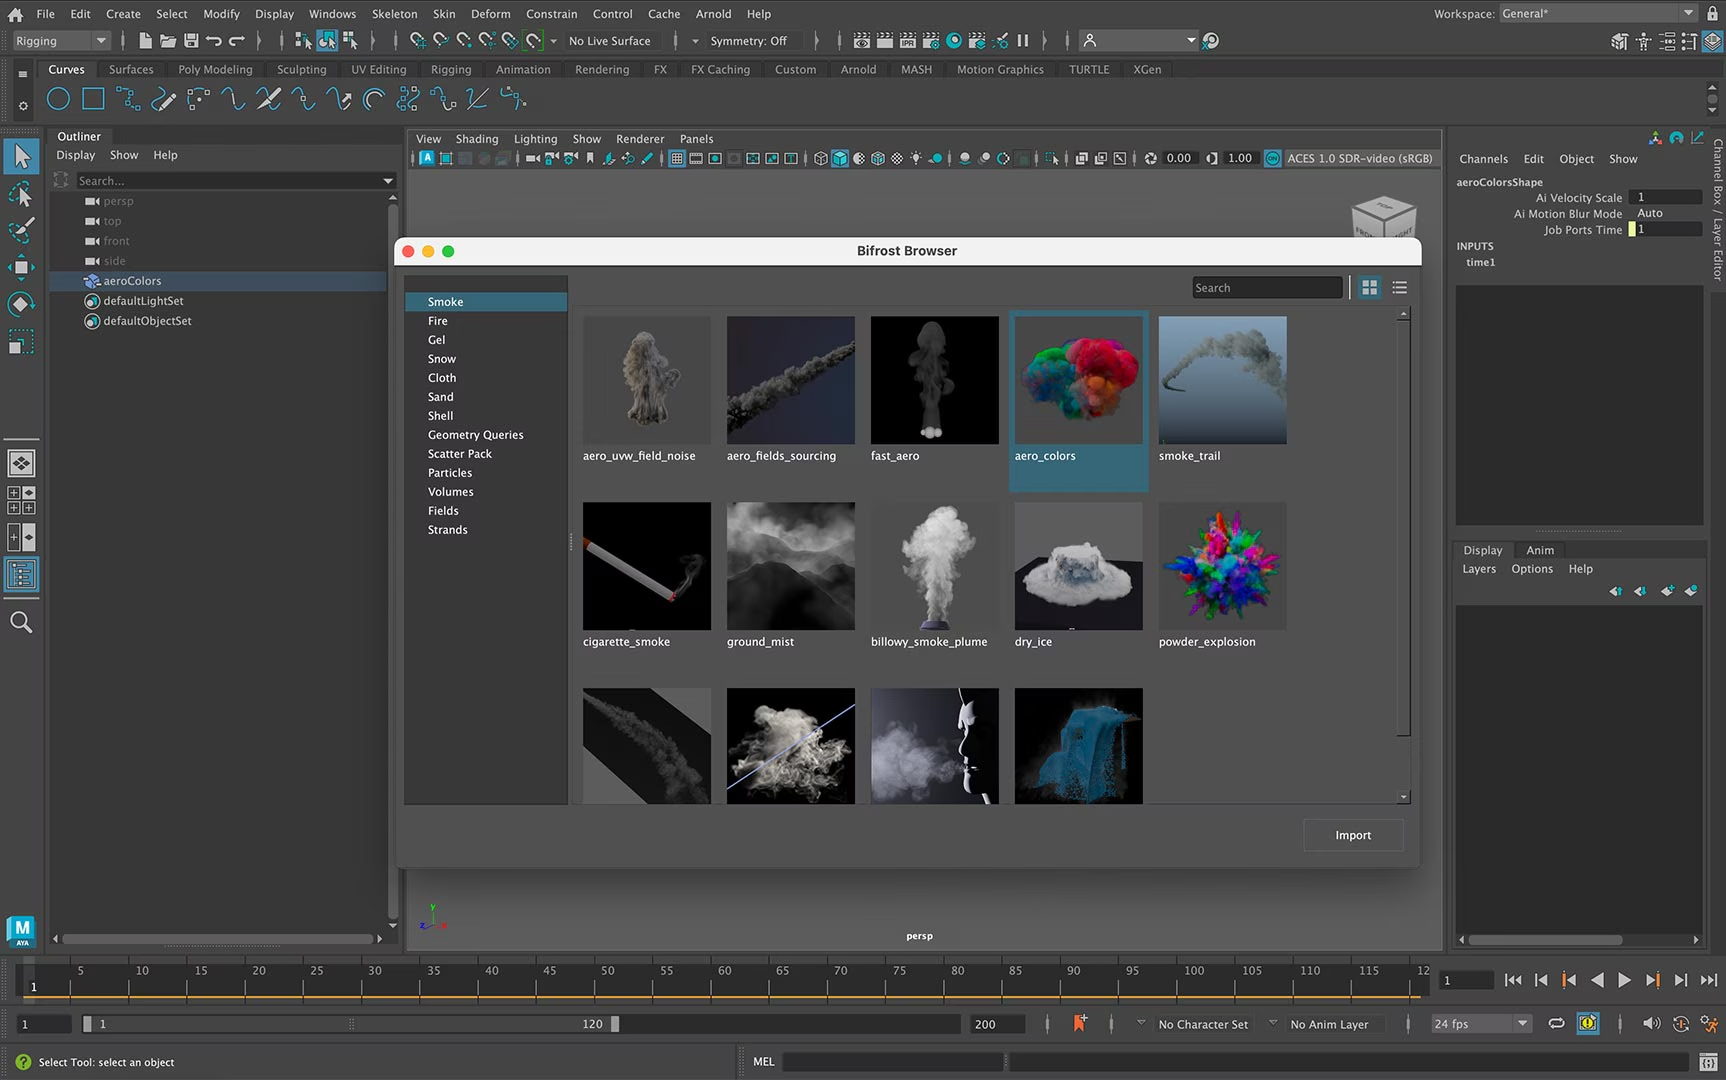
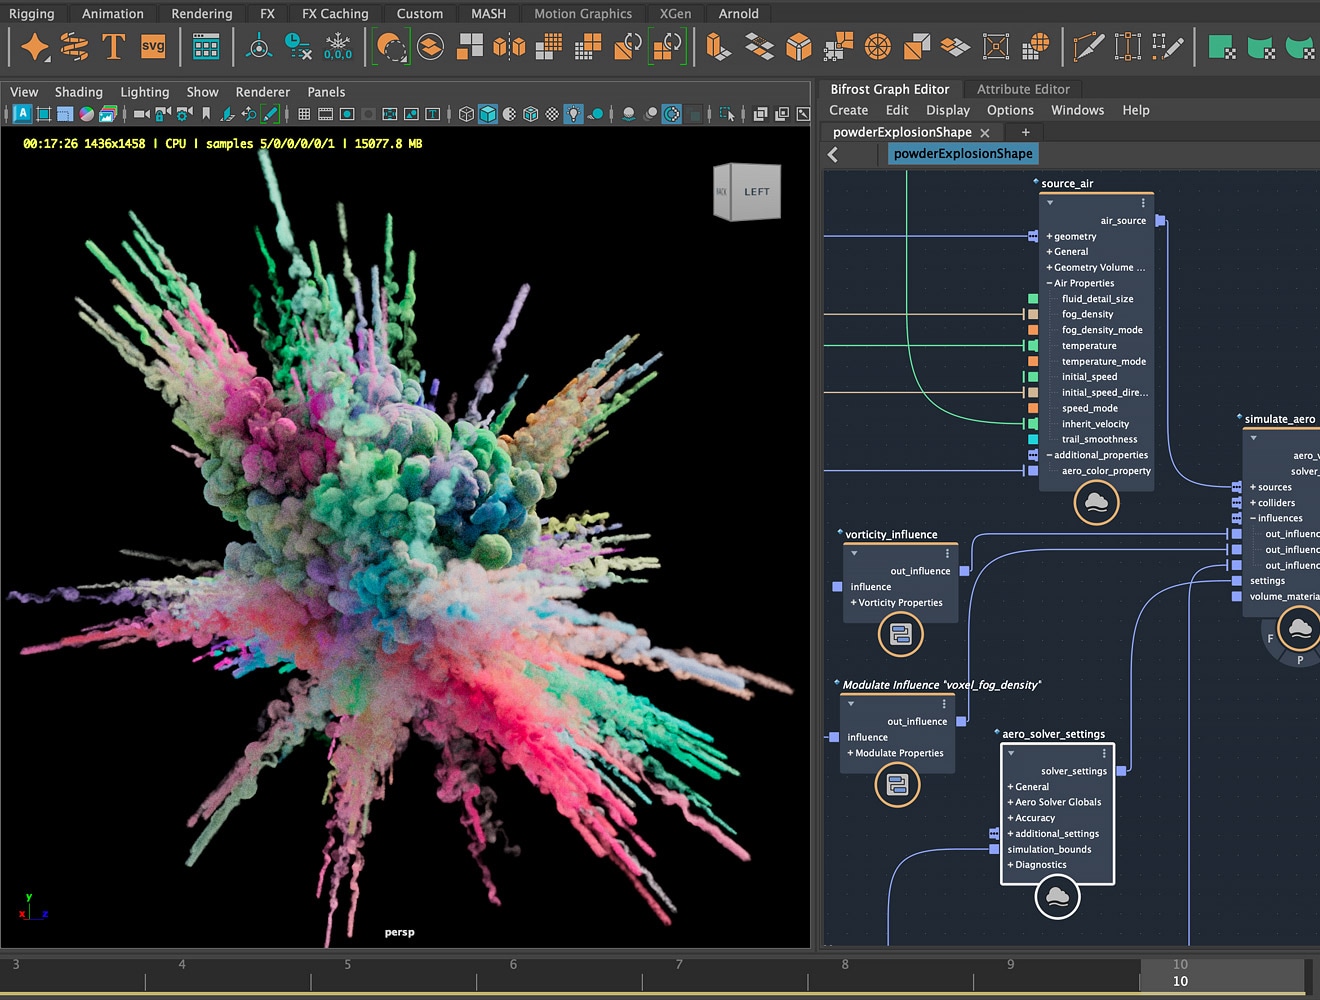
Bifrost is Maya’s integrated visual programming and simulation environment.
Its graph editor connects nodes to build effects, generate forms, distribute objects, and automate operations.
Bifrost can operate across several areas:
| Area | Examples |
|---|---|
| Liquids | Water, waves, splashes, and droplets |
| Aero | Smoke, fire, and volumetric phenomena |
| MPM | Snow, sand, mud, and deformable materials |
| Rigid bodies | Destruction, falls, and collisions |
| Particles | Dust, debris, and abstract effects |
| Scattering | Distribution of vegetation, rocks, or set elements |
| Procedural rigging | Construction of reusable modules and systems |
| OpenUSD | Procedural assembly and processing of scenes and assets |
Bifrost 3 notably improves rigid bodies, small-scale liquids, and several production workflows.
Its power comes from reuse.
A graph can become a tool that other artists apply without rebuilding the system from scratch.
This approach nevertheless requires another way of thinking.
You no longer always place each element by hand.
You describe the rules that will produce them.
Bifrost does not merely ask where things should be placed. It asks according to what logic they should appear.
Creating hair, fur, and vegetation with XGen
XGen generates and controls hair, fur, grooming, and instanced geometry.
The Interactive Groom Editor provides brushes, modifiers, and sculpt layers for styling guides directly.
It can be used to:
- create a hairstyle;
- produce a beard or eyebrows;
- cover a creature with fur;
- add fine body hair;
- instance grass or vegetation;
- save and reuse presets.
Hair is not merely decorative lines.
It must follow the character, preserve its roots, react to movement, create a silhouette, and remain calculable at render time.
XGen provides considerable control.
It also provides several opportunities to discover that a perfectly elegant hairstyle from the front may conceal, at the back of the skull, a geometric event nobody particularly wants to discuss.
Developing materials with LookdevX
LookdevX provides a node-based environment for creating, modifying, and publishing materials.
It relies on OpenUSD and MaterialX to make materials more portable between different stages and applications.
Maya 2027 introduces LookdevX 2.0, with improvements to UV textures, relative paths, archiving, and project portability.
This evolution addresses a classic problem.
A material can work perfectly in a local scene and disintegrate as soon as it changes computer, folder, or render engine.
Open standards do not remove every difference.
They provide a common language so that each conversation does not need to begin from zero.
Rendering with Arnold
Arnold for Maya is installed with Maya and serves as its primary render engine.
It supports lighting, materials, volumes, hair, depth of field, motion blur, and many effects required for realistic or stylized rendering.
Interactive rendering makes it possible to observe changes while modifying the scene.
Arnold is particularly suited to productions where the image needs to remain stable and predictable despite asset complexity.
It is not necessarily the fastest engine in every situation.
Its value rests more on quality, consistency, and integration with film and animation pipelines.
Interactive rendering inside Maya must be distinguished from automated rendering.
The integrated engine can produce images from the interface. Batch rendering, command-line rendering, and render farms may require additional Arnold licenses to avoid watermarks or licensing failures.
That distinction becomes fairly important when thirty machines begin calculating throughout the night.
Exchanging scenes with OpenUSD, FBX, and Alembic
Maya supports several formats suited to different uses.
- FBX commonly transports models, skeletons, animations, and cameras to game engines or other applications.
- Alembic records animated geometry caches without preserving the entire rig logic.
- OpenUSD assembles complex scenes through layers, variants, and references.
- OBJ remains useful for simple static geometry.
- MaterialX facilitates material exchange.
- OpenColorIO contributes to consistent color management.
Maya 2027 expands its USD workflows with tools for asset construction, variant management, and non-destructive organization.
In a small scene, these formats may look like different ways of saving a file.
In production, they determine who can modify what, how versions combine, and how far a department can work without overwriting the work of others.
Automating with Python, MEL, and APIs
Maya can be customized with Python, MEL, and plugins developed in C++.
Scripts can automate tasks such as:
- renaming and checking objects;
- publishing assets;
- verifying conventions;
- creating rigs;
- preparing exports;
- connecting textures;
- building interfaces;
- launching batch processes;
- integrating Maya with a production manager.
The Python and C++ APIs go further by creating commands, deformers, nodes, and tools directly integrated into the dependency graph.
This ability explains part of Maya’s longevity in studios.
The software does not merely impose a workflow.
It provides enough entry points for a team to build its own.
Inside a studio, Maya is often not merely used. It is extended.
Use cases
Animating the lead character of a film
A team is working on a creature that appears in several hundred shots.
The character must run, speak, fall, change expression, and retain the same proportions throughout production.
Maya makes it possible to build its skeleton, create controllers, prepare blend shapes, correct deformations, and organize animations.
The rig can be referenced inside every shot.
When an important correction is published, scenes can retrieve the new version without manually reimporting the character everywhere.
This logic becomes essential at scale.
The hero must not become fifty independent files, each evolving according to the approximate memories of the person who copied it.
Preparing a character for a video game
A character has been modeled and textured for a Unity or Unreal Engine project.
Maya can rebuild its topology, create its skeleton, paint weights, produce animations, and prepare its FBX export.
The team can also create several levels of detail and separate the elements required by the engine.
The result still needs to be tested at its destination.
Performance constraints, shaders, collisions, and certain rig functions do not automatically cross the exchange format.
Maya prepares the character.
The engine then decides whether that character can actually run at sixty frames per second among twenty enemies, three explosions, and a player stubbornly refusing to watch the cinematic.
Building a creature and its fur
A studio needs to produce a fantastical animal.
The main form can be modeled in Maya or sculpted elsewhere, then retopologized with Quad Draw. The skeleton and skinning are prepared in Maya.
XGen then creates the fur, while deformers and corrective shapes preserve volumes during animation.
Materials and lighting are tested with Arnold.
Every discipline remains connected to the same character.
The fur must follow the skin.
The skin must follow the skeleton.
The skeleton must follow the animation.
And the animation must continue to look natural even when the creature has six legs, two tails, and no anatomical reference polite enough to exist in nature.
Producing an explosion or destruction
A scene requires a building to collapse.
Bifrost can fracture, simulate, and control the elements. Particles, dust, and volumes complete the destruction.
The system can be built as a reusable graph.
Parameters can then modify force, impact area, fragment size, or timing without rebuilding the entire simulation.
The result can be cached and passed to lighting.
This separation avoids recalculating all the physics every time a light moves by three degrees.
The simulation becomes a production asset rather than a spectacular accident preserved only because nobody dares touch the settings.
Creating a pipeline for a small studio
A studio of a few people regularly produces characters and animations.
Without a shared method, everyone names files differently, exports with personal settings, and discovers errors during integration.
Maya can be customized with Python scripts to:
- automatically create folders;
- validate names;
- check textures;
- control rigs;
- launch exports;
- publish caches;
- record versions;
- transfer files to the engine.
The first script takes time.
It then prevents every artist from spending twenty minutes each day solving exactly the same problem with a slightly different version of the same swear word.
Previsualizing an animated sequence
A director prepares a scene before final rendering.
Simplified characters, cameras, and temporary sets are placed inside Maya. The Sequencer organizes shots, while playblasts quickly produce working videos.
The team can verify timing, framing, and movement before investing in detail.
This stage prevents the completion of a technically perfect scene only for the edit to discover that it lasts fifteen seconds too long.
Previsualization is not yet looking for final beauty.
It is looking to discover whether the story holds together once it begins to move.
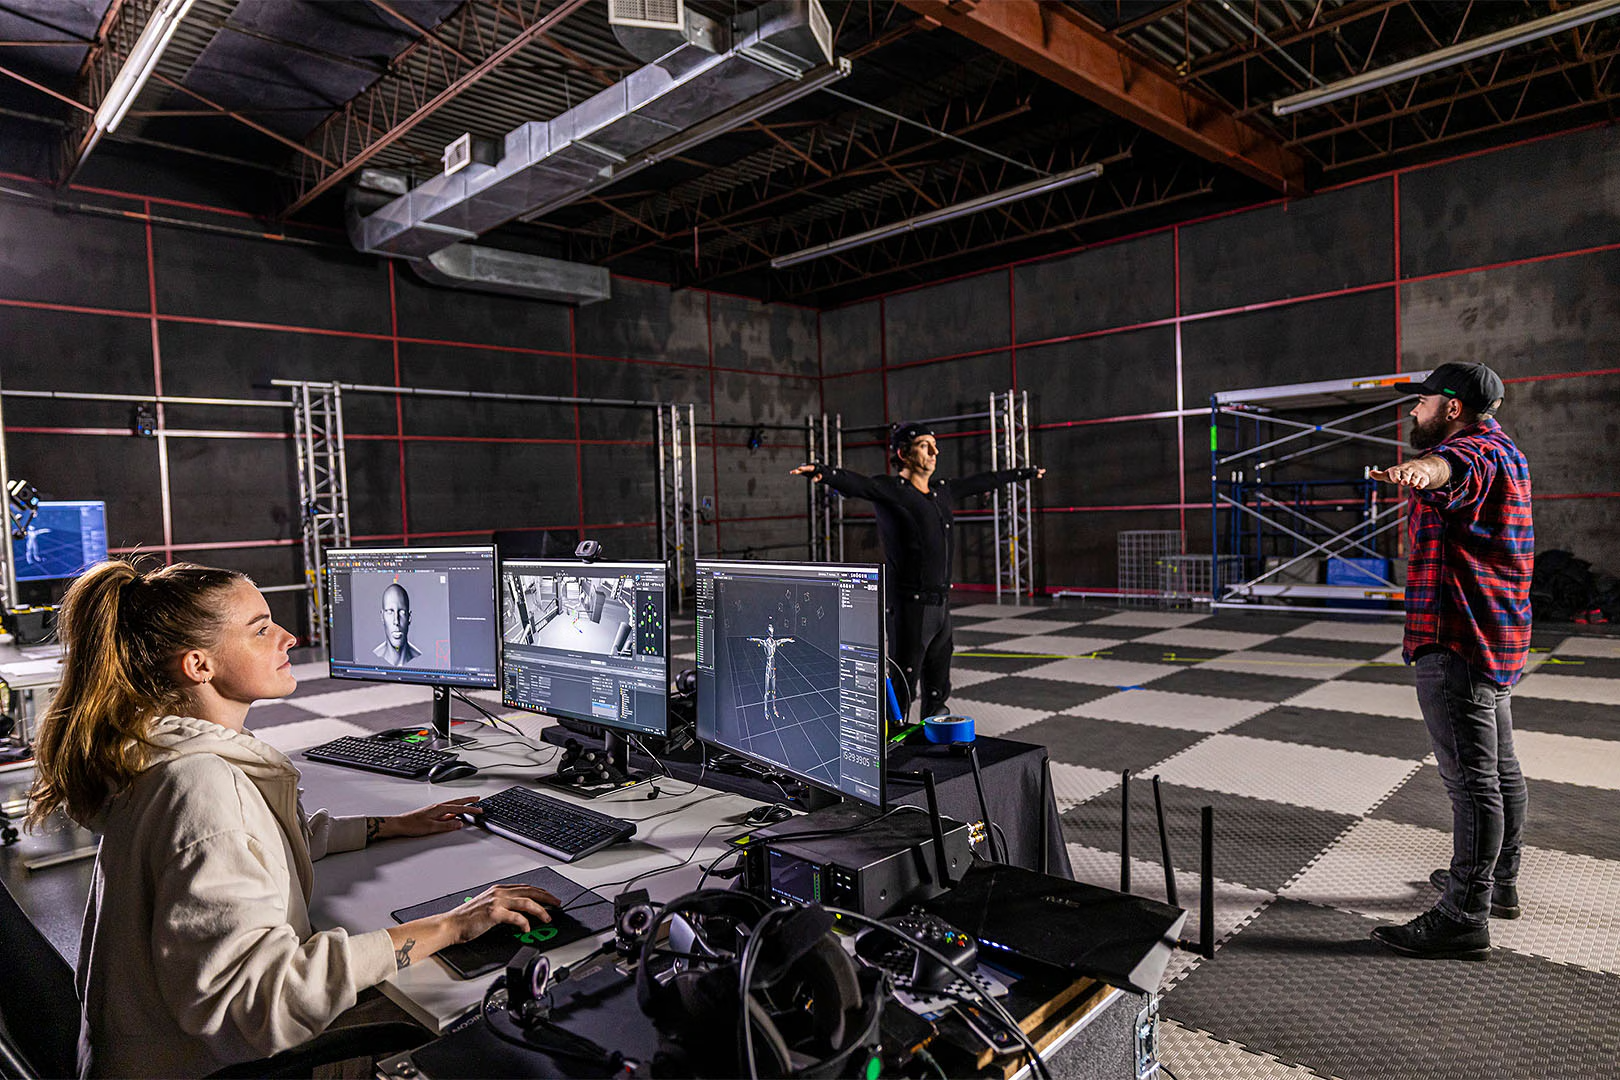
Creating animations from motion capture
A studio receives mocap data.
Maya can associate it with a character, clean the curves, correct contacts, and blend several takes.
HumanIK and the animation tools facilitate retargeting to another skeleton.
Capture provides the movement of a real body.
It does not guarantee that this movement suits the character.
A three-meter warrior, a stylized child, and a robotic creature do not carry their weight in the same way, even when they inherit the same walk recorded inside a studio.
Maya then becomes the place where capture stops being data and starts becoming performance.
Collaborating on a complex scene
A production contains characters, environments, cameras, effects, and lighting.
Combining everything inside one file would make the scene heavy and fragile.
References and OpenUSD workflows make it possible to assemble the different parts without copying all the data.
One department can update an asset while another continues working on the shot.
Variants make it possible to choose different versions of an object, material, or level of detail.
This workflow requires solid conventions.
In return, it offers something precious: the ability to modify one part of the world without rebuilding the entire world around it.
PANACHES review
Maya has a strange reputation.
It is sometimes presented as the ultimate professional 3D software.
Elsewhere, it is described as an expensive old fortress that Blender will inevitably replace.
Both views touch part of the truth.
Neither is enough.
Maya remains powerful because it does not merely handle the creation of an object. It handles the continuity of work around that object.
Its animation, rigging, node architecture, references, APIs, and integration with production standards form an ecosystem that is difficult to summarize in a feature list.
A solo artist may never use half of this depth.
A studio can build its entire organization around it.
A tool that becomes better when you are no longer alone
Blender is often more generous for someone who wants to do everything inside one application without a subscription.
Maya shows more of its value when the work needs to be divided.
One artist models.
Another rigs.
A third animates.
Simulation, grooming, lighting, and rendering then follow.
Each person must receive a scene that is understandable, editable, and stable enough not to turn every update into a crisis meeting.
Maya was shaped around this reality.
It does not automatically make a team organized.
It provides the structures with which a team can become organized.
Animation remains its natural territory
Maya can model, texture, simulate, and render.
Its strongest identity nevertheless remains character animation.
The Graph Editor, rigging, deformers, skinning, and the ecosystem built around these tools retain considerable precision.
This depth becomes apparent when movement needs to be directed precisely.
It is possible to automate a walk, import capture, or generate a first base with MotionMaker.
The final percentage—the part that gives weight, character, and intention—remains animation work.
Maya does not remove that work.
It provides a place precise enough to perform it.
Power that needs to be tamed
The interface is not light.
Error messages do not always possess the pedagogical talent one might hope for.
Some operations depend on history, selection order, or an option forgotten inside a window opened three weeks earlier.
Maya can feel as though it is punishing someone for a rule it never considered useful to explain.
That difficulty is not entirely justifiable.
Part of it comes from the depth of the field.
Another part comes from an old application carrying several layers of its own history.
Learning Maya therefore means learning 3D, but also learning Maya.
That difference explains why the first few weeks sometimes resemble less an artistic discovery than a prolonged negotiation with an administrative building.
The price of a standard
The standard subscription remains expensive for an independent creator.
Maya Indie considerably improves the situation for eligible users, with the same features as the full version. Its restrictions on revenue, project value, and commissioned work must nevertheless be understood before using it commercially.
The cost does not stop at the software.
Plugins, rendering licenses, powerful hardware, training, and maintenance time for internal scripts may also need to be added.
For a studio, these expenses can be absorbed by the value of the pipeline.
For someone who wants to learn 3D, create a few models, and produce personal images, Blender is often a much more logical entry point.
Maya becomes relevant when its specific advantages answer a real need.
Not simply because its logo appeared somewhere in a film’s end credits.
How does it compare with the alternatives?
Blender is the most obvious alternative. It is free, open source, cross-platform, and combines modeling, sculpting, animation, compositing, editing, and rendering in an extremely complete suite. Maya retains an advantage in certain studio pipelines, character animation tools, and highly customized environments.
Houdini surpasses Maya in many procedural and visual effects areas. Its node-based approach is deeper and more systematic. Maya often remains more direct for rigging and traditional character animation, although Bifrost is gradually narrowing that separation.
Cinema 4D generally offers a more welcoming learning experience and a strong motion design culture. Maya becomes more interesting when characters, complex rigs, and film pipelines sit at the center of the project.
Autodesk 3ds Max shares several industries with Maya but remains strongly associated with Windows, visualization, certain environment workflows, and different production habits. Studios often choose according to their disciplines, plugins, and technical heritage rather than through an absolute victory of one over the other.
Cascadeur focuses on character animation assisted by physics and AI. It can complement Maya or provide a more direct approach for building certain movements, but it does not replace the entirety of its production suite.
Maya therefore does not win because it is the best software for everything.
It wins when animation, rigging, customization, and asset circulation become more important than immediate simplicity.
Within a PANACHES workflow, Maya intervenes after concept development, visual research, and asset construction. It becomes the place where forms receive structure, characters learn to move, and separate elements begin to belong to the same production.
Maya is not always the shortest path toward a 3D image. It remains one of the strongest paths toward a production that needs to continue after that image.
Points to consider
-
Maya works through subscription: Autodesk no longer sells new perpetual licenses. The public French price is currently listed at €2,094 per year for the standard subscription, excluding promotions or special conditions.
-
The free trial lasts 30 days: it makes it possible to explore Maya’s features before subscribing. Once it ends, it generally cannot be extended.
-
Maya Indie has specific eligibility rules: in France, the user’s or company’s annual creative revenue must remain below €100,000, the software cannot be used on a project worth more than $100,000, and only one Indie subscription may be assigned per user or organization. Certain services performed for large companies may also be excluded.
-
The Education license does not permit commercial work: eligible students and teachers can obtain free renewable annual access, but only for learning, teaching, training, or research purposes.
-
Licenses are named-user licenses: a subscription must be assigned to an identified person. The software may be installed on several authorized devices, but the user can actively use it on only one computer at a time.
-
Maya 2027 requires a recent system: official support covers Windows 11, certain recent versions of macOS, and specific versions of Red Hat Enterprise Linux and Rocky Linux. A neighboring Linux distribution may work without being officially certified.
-
Minimum requirements do not represent a comfortable production workstation: Autodesk specifies 8 GB of RAM, with 16 GB or more recommended. Heavy characters, simulations, caches, high-resolution textures, and renders often require considerably more memory and VRAM.
-
Arnold GPU rendering has platform limitations: GPU rendering and OptiX denoising are available on Windows and Linux with compatible NVIDIA graphics cards. The workflow is not equivalent on macOS.
-
Integrated Arnold does not automatically cover every automated rendering workflow: interactive rendering from Maya is available, but batch rendering, command-line rendering, and render farms may require additional Arnold licenses. Without suitable licensing, images may receive a watermark or rendering may fail.
-
Plugins must follow Maya’s version: an annual update can temporarily make certain scripts, plugins, shaders, or internal tools incompatible. Studios often keep several versions installed to avoid interrupting an ongoing production.
-
File compatibility is not always perfectly backward-compatible: a scene saved in a newer version may cause problems inside an older release. It is prudent to keep backups, intermediate exports, and incremental files.
-
The interface and learning curve remain demanding: Maya combines several professions inside one application. Understanding nodes, history, transformation spaces, references, and animation editors takes time.
-
Bifrost adds a second working logic: the procedural environment is powerful, but learning Maya does not automatically mean understanding Bifrost. Visual programming and graph design form an additional discipline.
-
MotionMaker remains a starting tool: its generated movements for humans, dogs, and horses still need to be directed, cleaned, and adapted to the character. Plausible animation is not necessarily expressive animation.
-
XGen requires rigorous management: descriptions, caches, file paths, and dependencies must be organized correctly. Complex hair can quickly make both the scene and rendering heavier.
-
Maya does not replace every specialized tool: ZBrush remains more natural for sculpting, Substance 3D Painter for texture painting, Houdini for certain procedural effects, and Nuke for advanced compositing. Maya often serves as the center of a pipeline rather than its only application.
Maya can model a character, build its rig, animate its face, simulate its cape, and render its shot. It cannot decide whether the pipeline is well designed, whether the plugin will survive the next version, or why the file named
hero_final_v27_really_final.mbhas become the only copy that still opens.